DIY Archery Gear-Make Your Own Adjustable Finger Sling

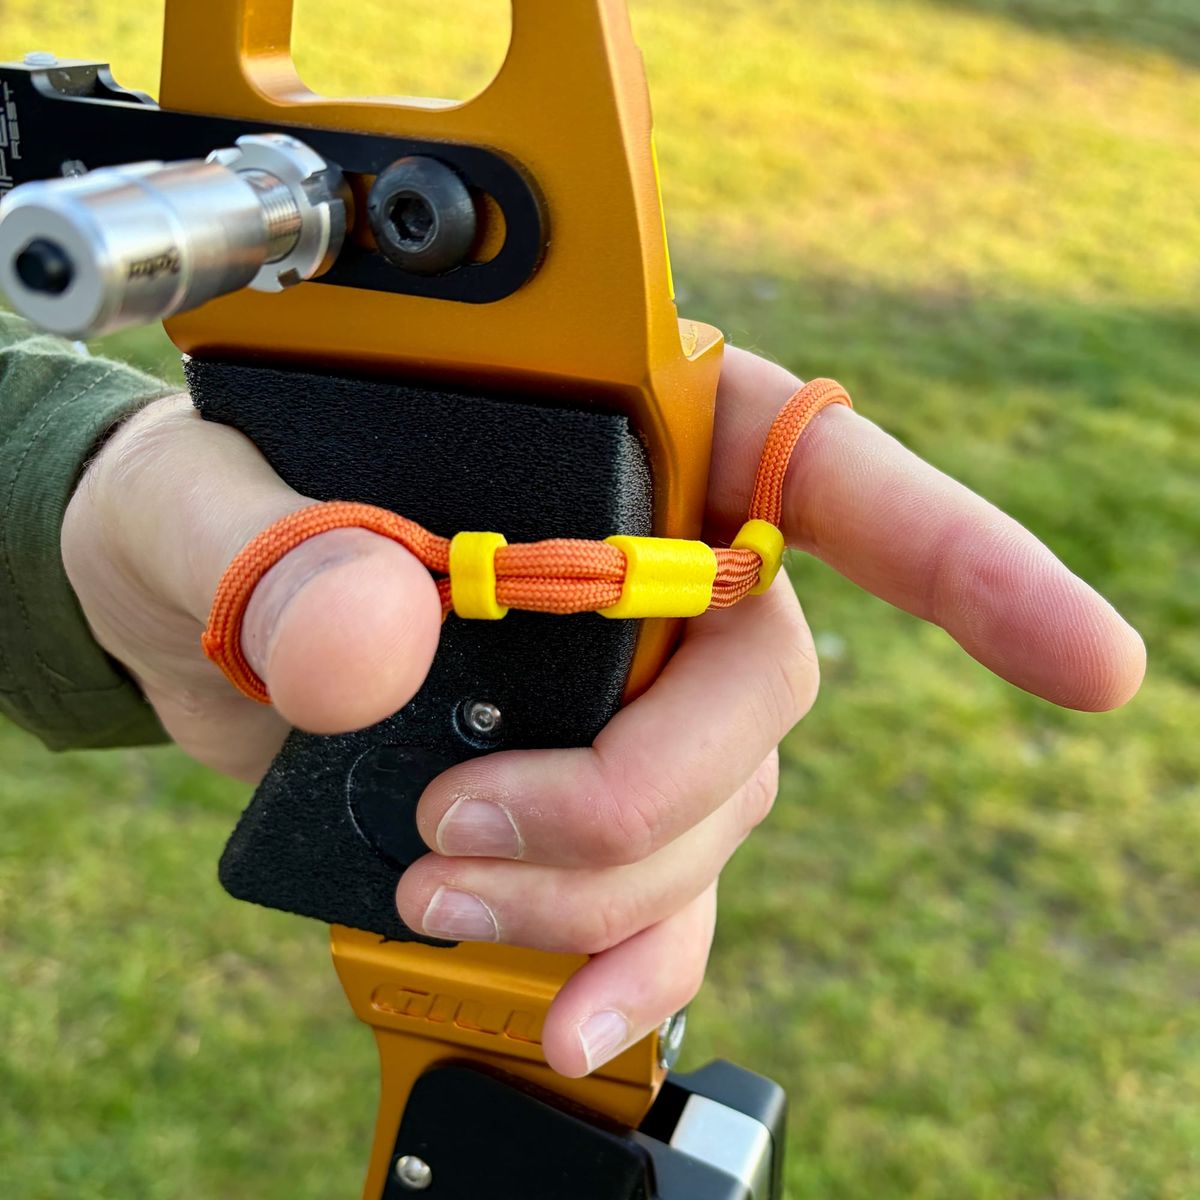
A simple 3D-printed finger sling that is adjustable, easy to remove and simple to customise.
Since I have started with archery, my finger sling was about as basic as it gets: a piece of shoelace with the two ends tied together.
It worked perfectly well as a sling, using shift knots. One knot went around my index finger, the other around my thumb, and the knots were tightened until everything felt secure.
The annoying part came when I wanted to take it off.
After shooting an end, the knots had often tightened enough around my finger and thumb that removing the sling became a small wrestling match. It wasn't a major problem, but it was something I had to deal with every single time I shot.
Eventually I decided that there had to be a better way.
The solution turned out to be a very simple combination of 5 mm paracord and three small 3D-printed parts.
The idea
I designed the components in Fusion 360.
The larger centre piece keeps the sling together and also gives me somewhere to permanently secure the point where the two ends of the paracord are joined.
The two smaller pieces slide along the paracord on either side of the centre section. These become the adjusters for the finger and thumb loops.
Instead of tightening and loosening knots, I can simply slide the adjusters into position when I put the sling on, and slide them back again when I want to remove it.
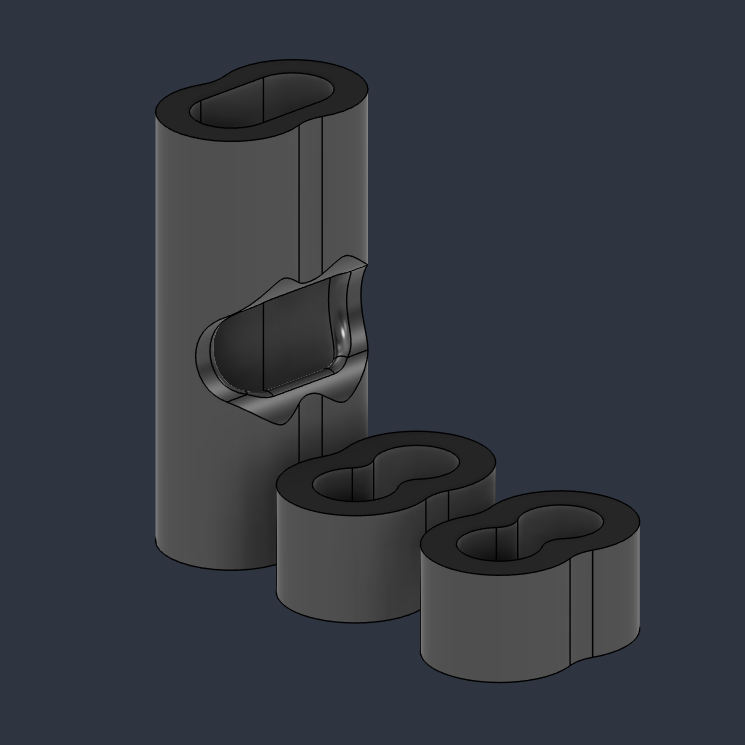
The finger sling uses three simple 3D-printed components: a larger centre section and two sliding adjusters.
What you will need
There really isn't much to this project:
- The STL files
- A 3D printer
- Approximately 30 cm of 5 mm paracord
- Superglue
- A lighter
The printed parts can be made from PLA, PETG or similar materials.
My preference, however, is TPU.
TPU 95A works particularly well because it has enough flexibility to make the parts pleasant to handle while still gripping the paracord properly. I have also had good results with Bambu Lab TPU for AMS.
Once you have the parts printed, assembly only takes a few minutes.
1. Cut the paracord to length
Start with approximately 30 cm of 5 mm paracord.
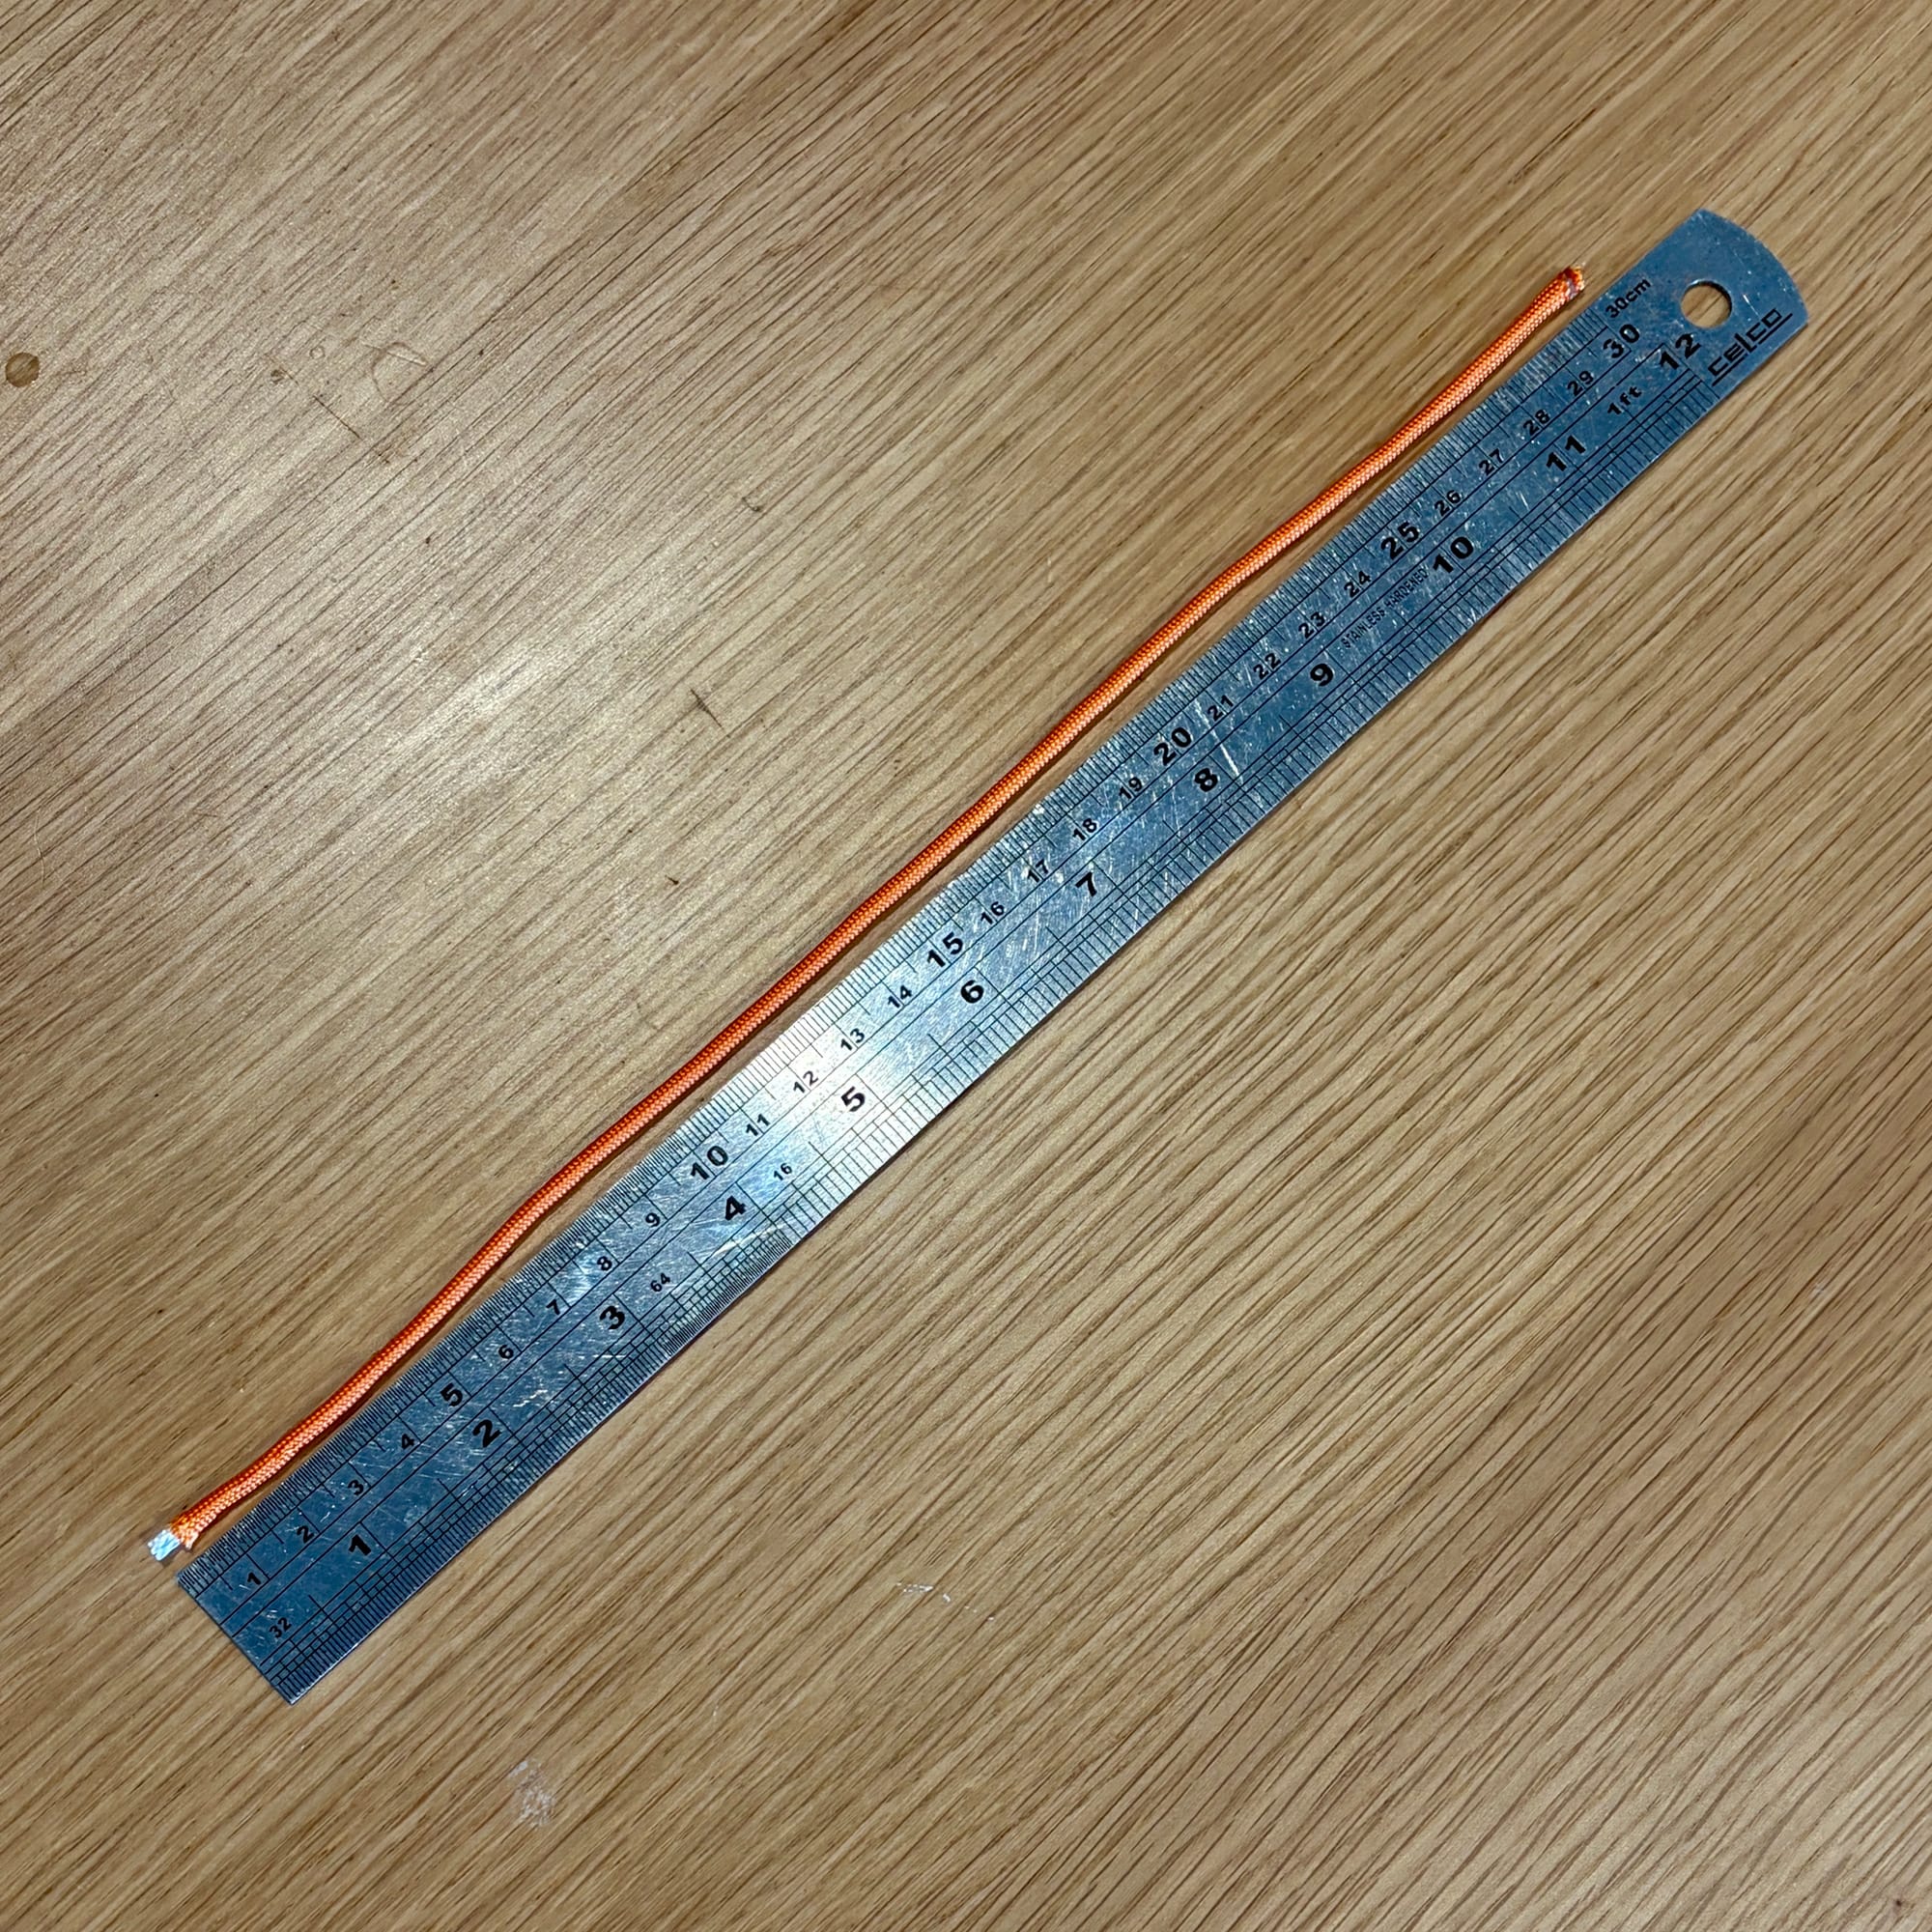
Around 30 cm of 5 mm paracord is a good starting point, but adjust the length to suit your hand size.
Thirty centimetres works well for my hands, but don't treat that measurement as absolute.
If you have smaller hands, make it slightly shorter. If you have larger hands, add a centimetre or two.
You may need to experiment with the length until both loops have enough adjustment to sit comfortably around your index finger and thumb.
And because you're making it yourself, this is also the point where you get to choose whatever paracord colour takes your fancy.
2. Make the paracord loop
The next step is to turn the length of paracord into one continuous loop.
Carefully heat both ends with a lighter until the material begins to melt.
While both ends are still soft, push them together and hold them in position until the joint sets.
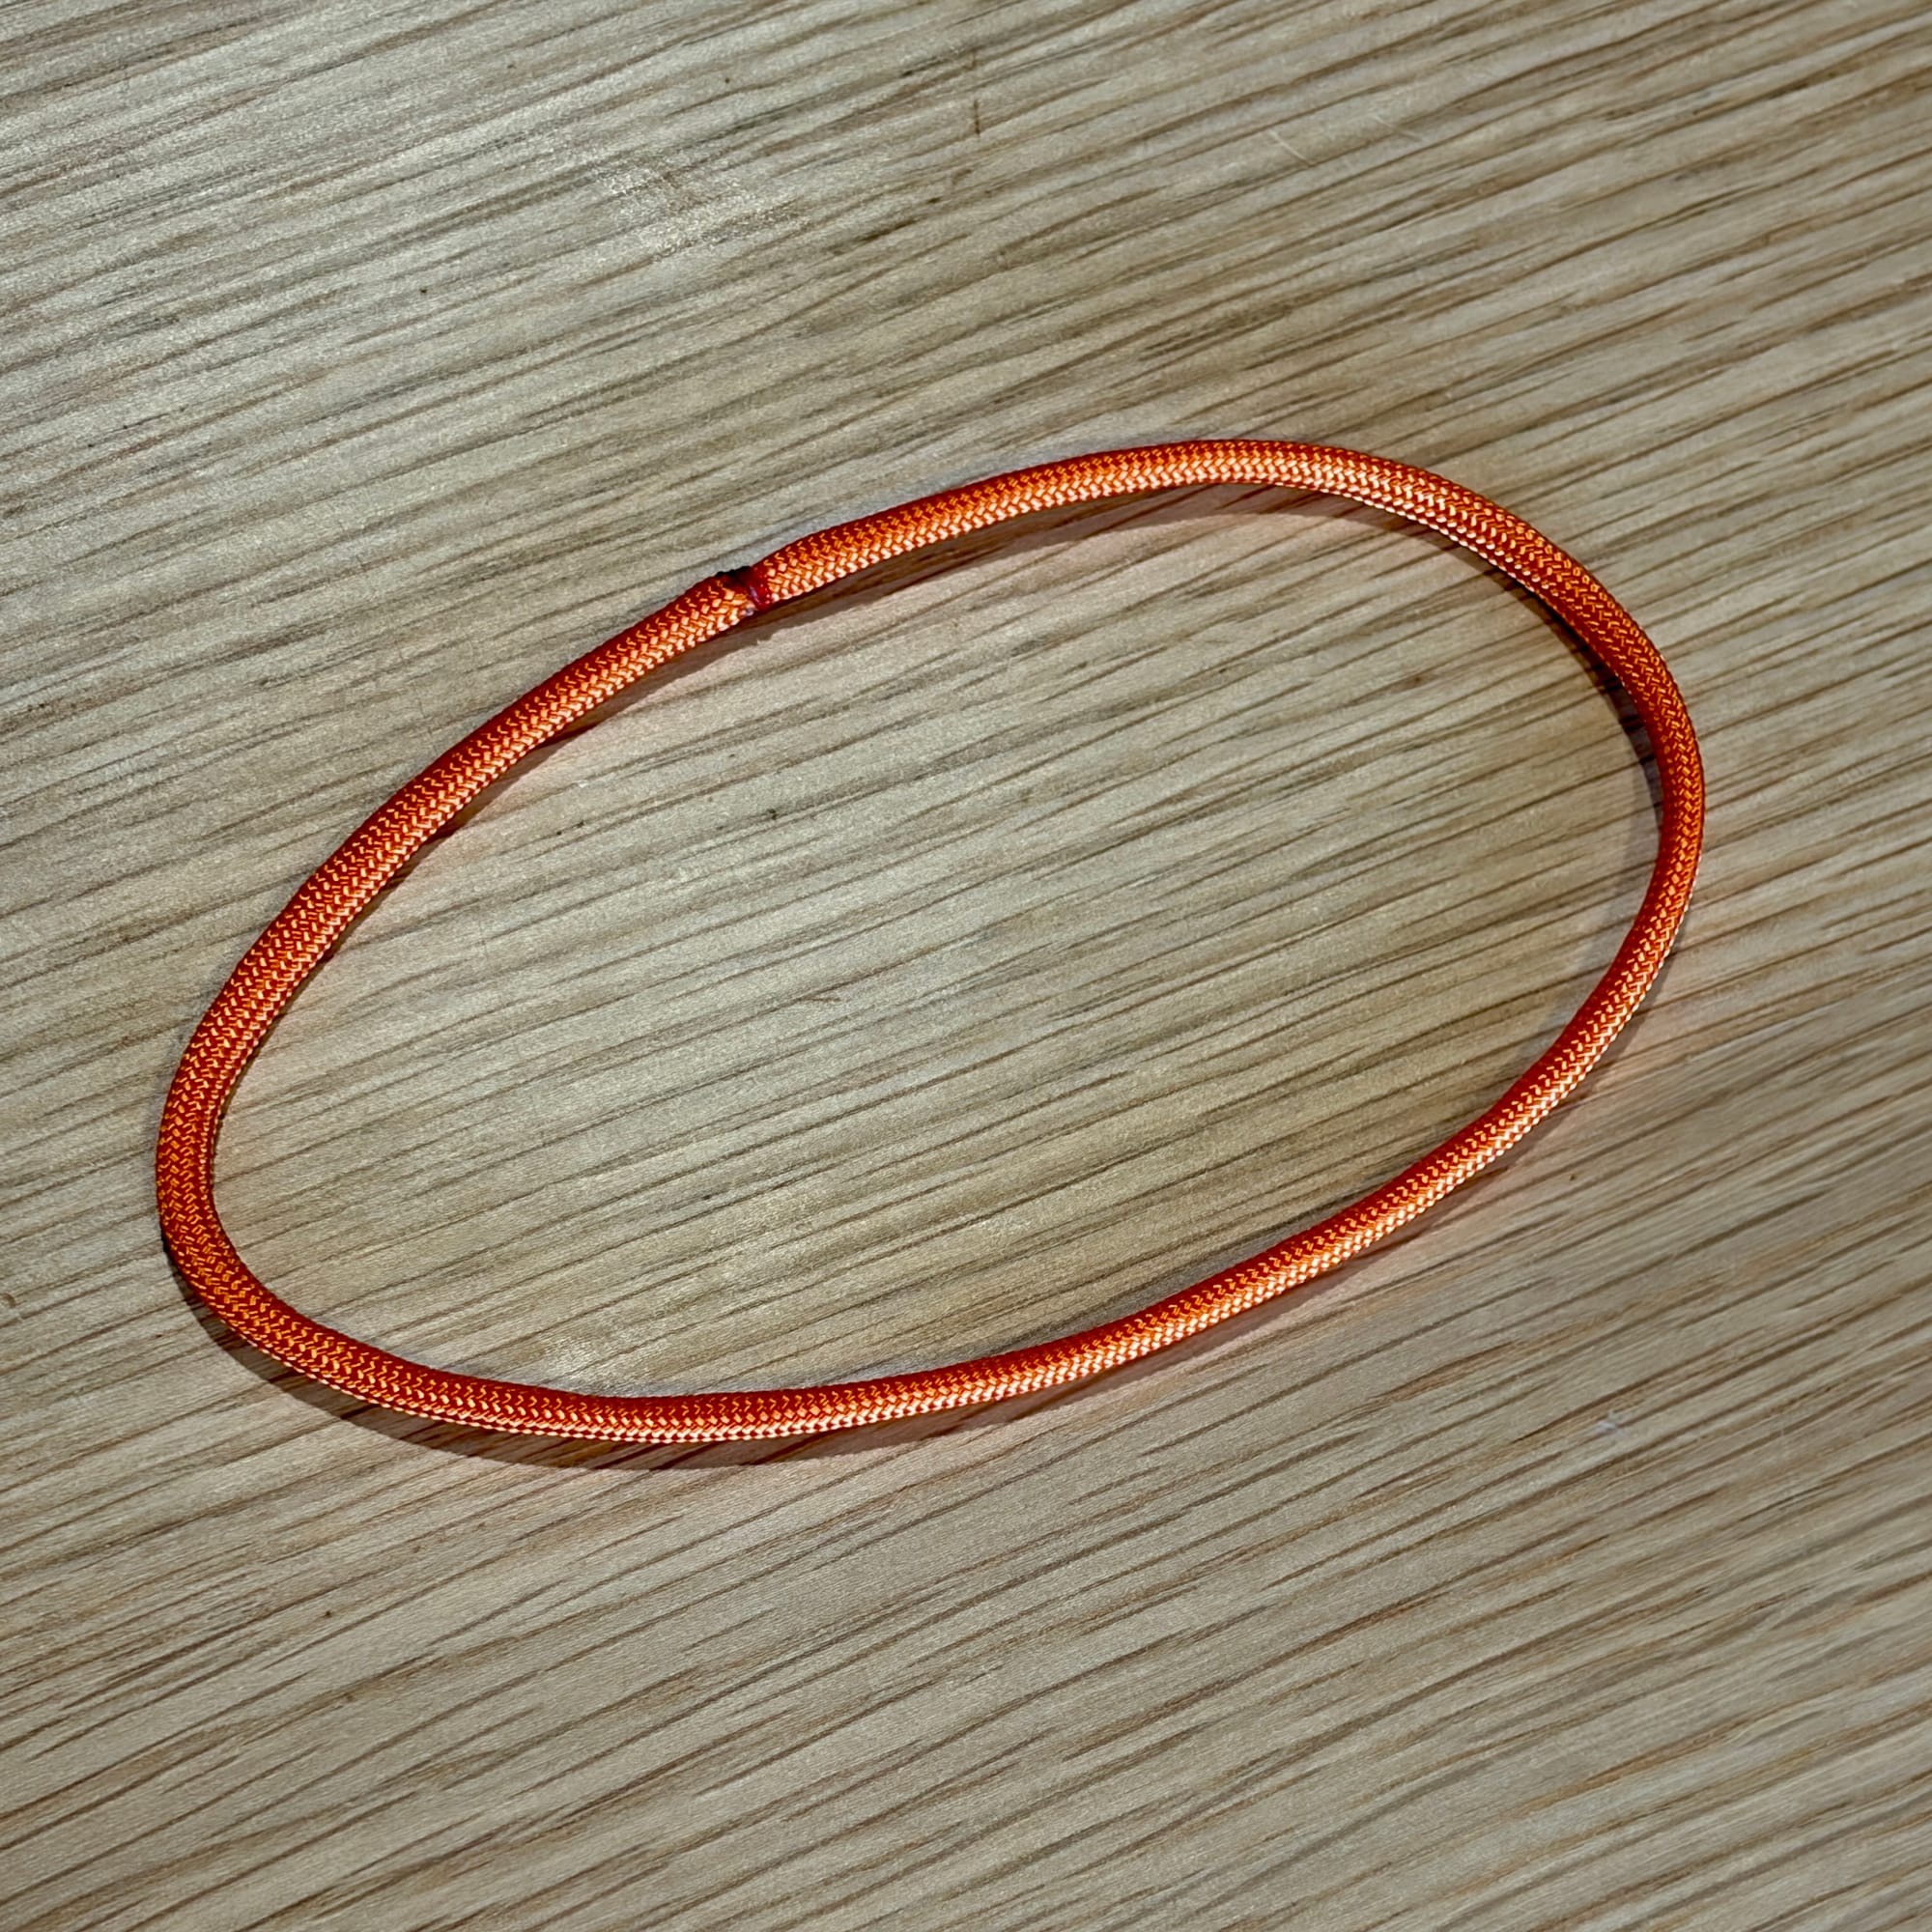
The two melted ends are joined to create one continuous paracord loop.
Be careful during this step.
Melted paracord gets very hot and sticks extremely well to fingers.
Ask me how I know.
Let the joint cool completely before moving on.
The melted joint doesn't need to look particularly pretty because we're going to hide and reinforce it inside the centre section.
3. Fit the centre piece
Take the larger 3D-printed component — the one with the opening through the middle — and feed the paracord loop through it.
Move the paracord through the centre section until the melted joint is visible through the opening.
Before gluing anything, adjust the paracord until you have roughly the same amount extending from either side of the centre section.
This is worth getting right now, because it determines how much adjustment you will have available for the finger and thumb loops.
Once everything is centred, add a few drops of superglue through the opening directly onto the paracord joint.
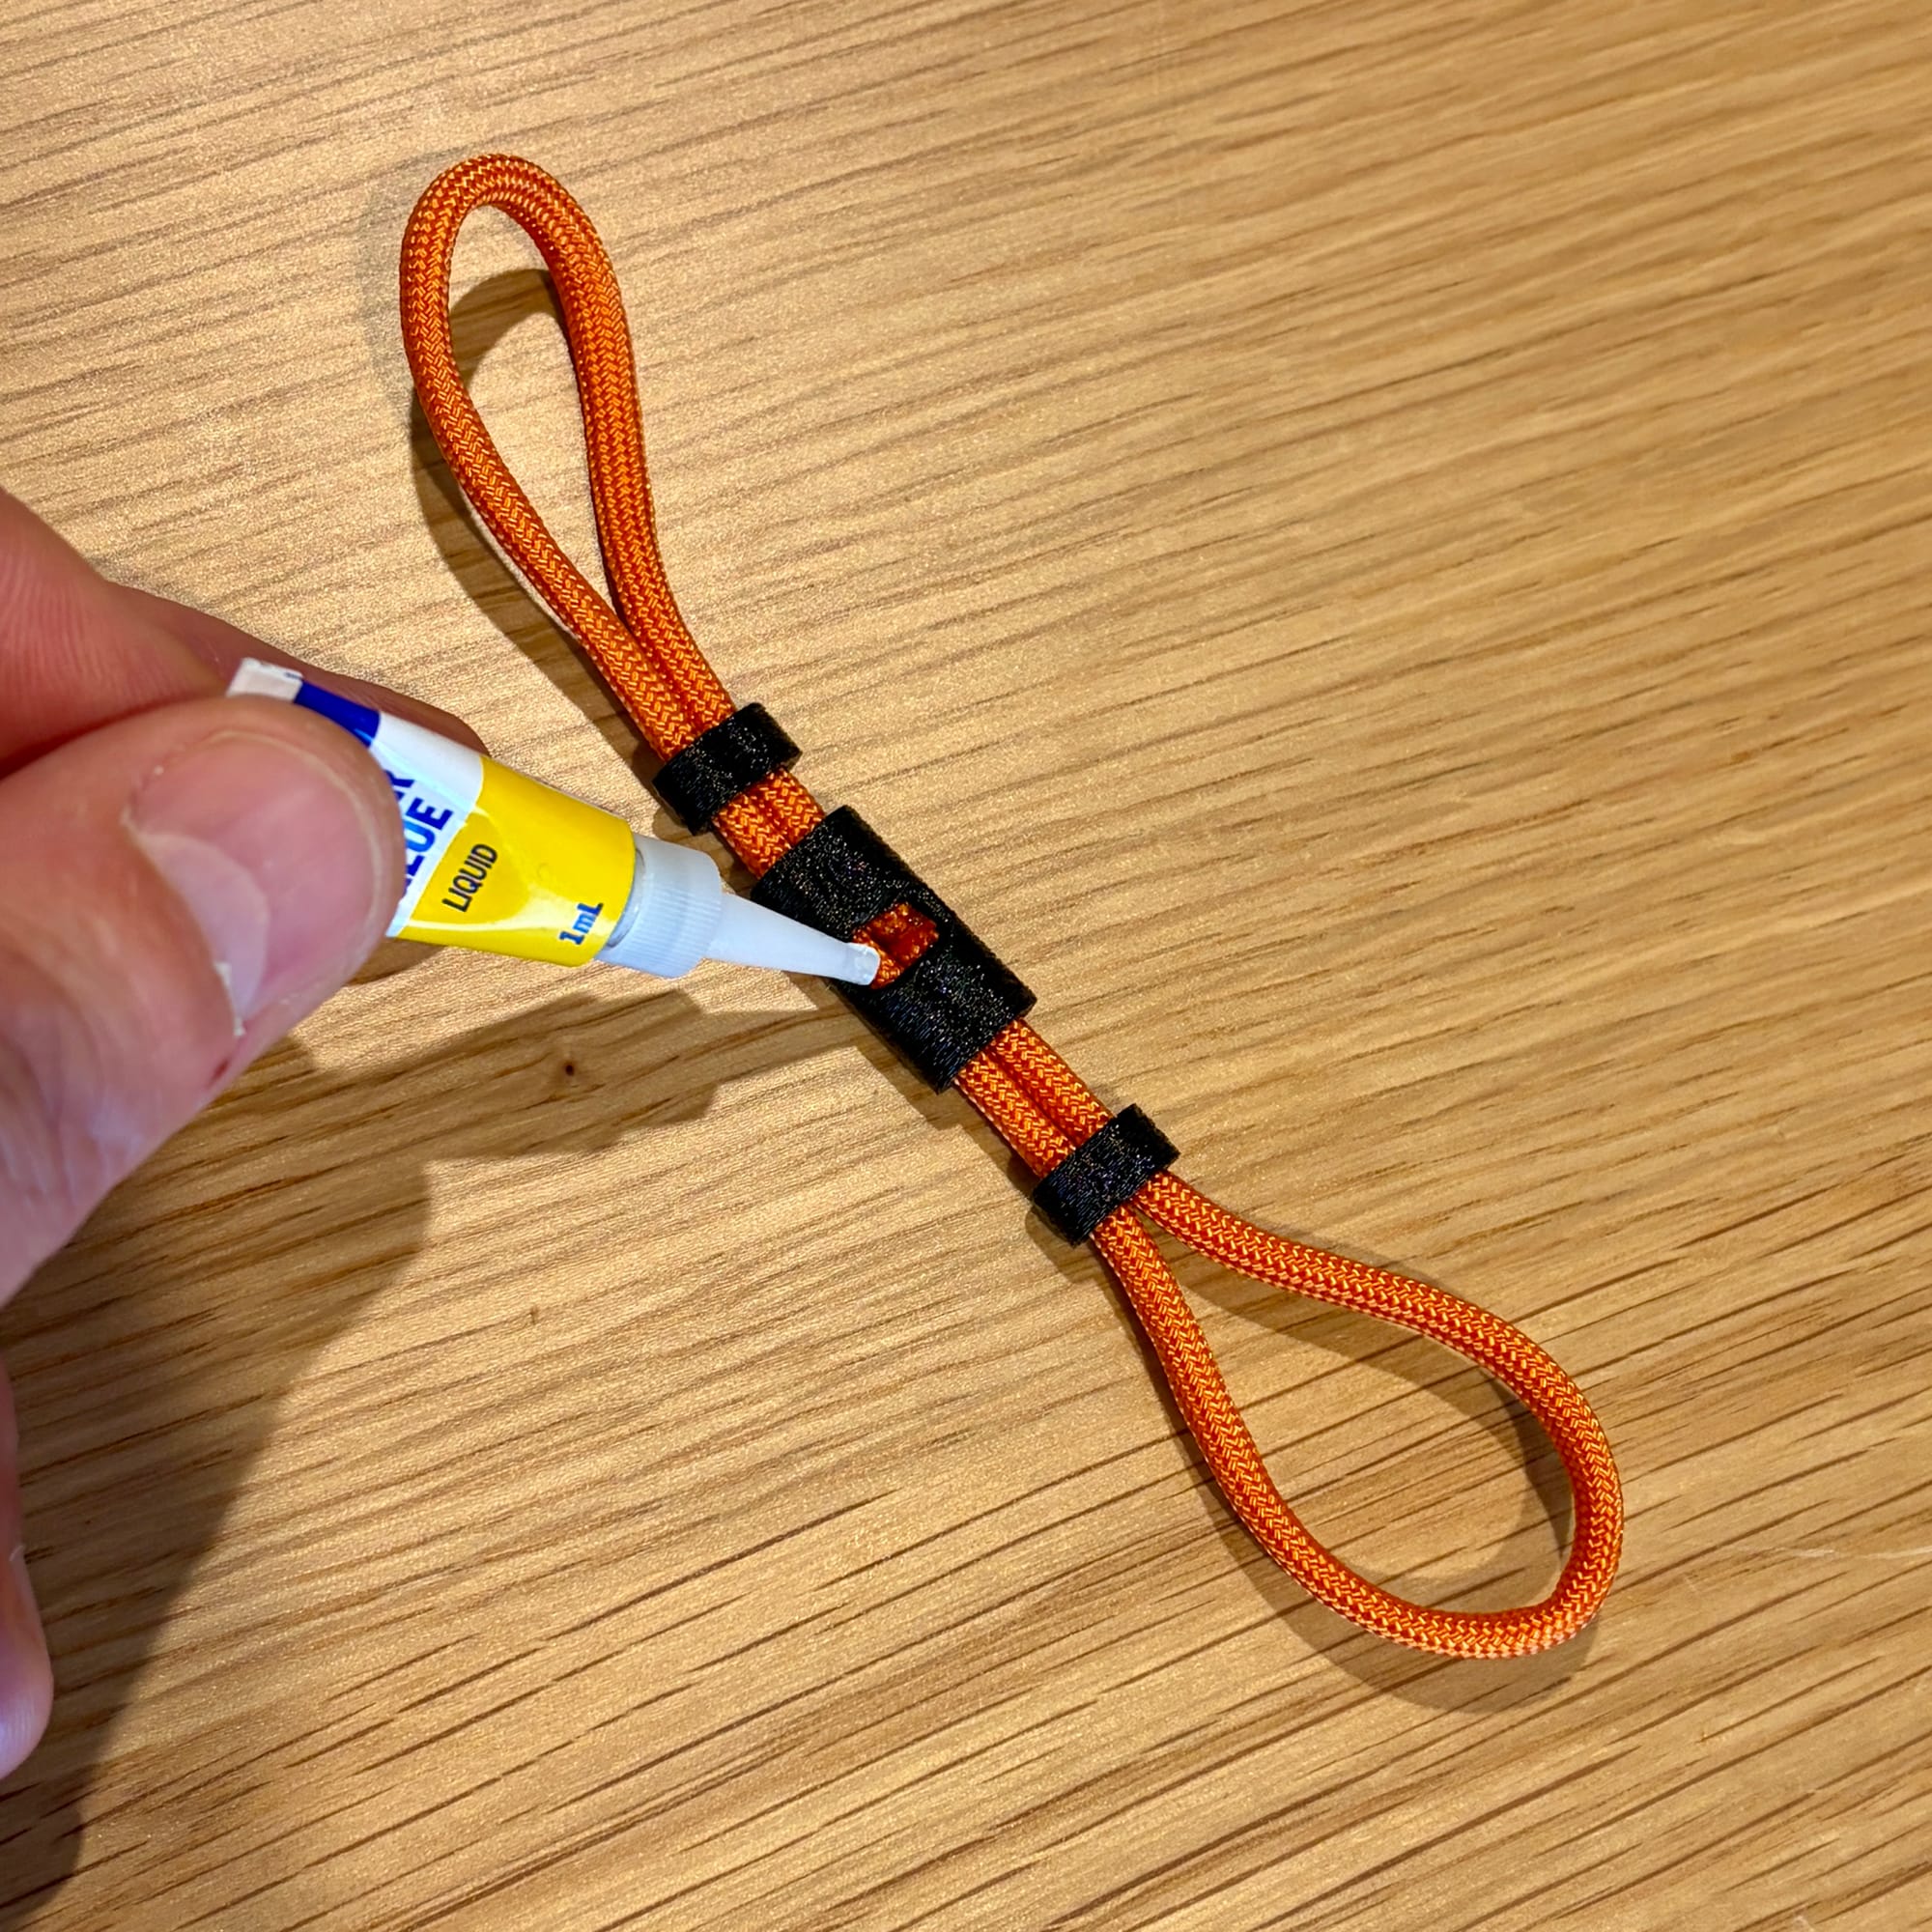
Position the melted paracord joint inside the opening in the centre piece and secure it with a few drops of superglue.
The centre piece now does two things.
It hides the rather unattractive melted joint, and it reinforces that joint so it cannot easily pull apart during use.
Let the superglue cure before continuing.
4. Add the two adjusters
Slide one of the smaller printed pieces onto the paracord on each side of the centre section.
These become the two adjusters.
Move them towards the ends of the sling to reduce the size of the finger and thumb loops.
Slide them back towards the centre to loosen the loops again.
That's it.
The finger sling is finished.
No knots to undo.
Make it your own
One of the nice things about such a simple project is how easy it is to customise.
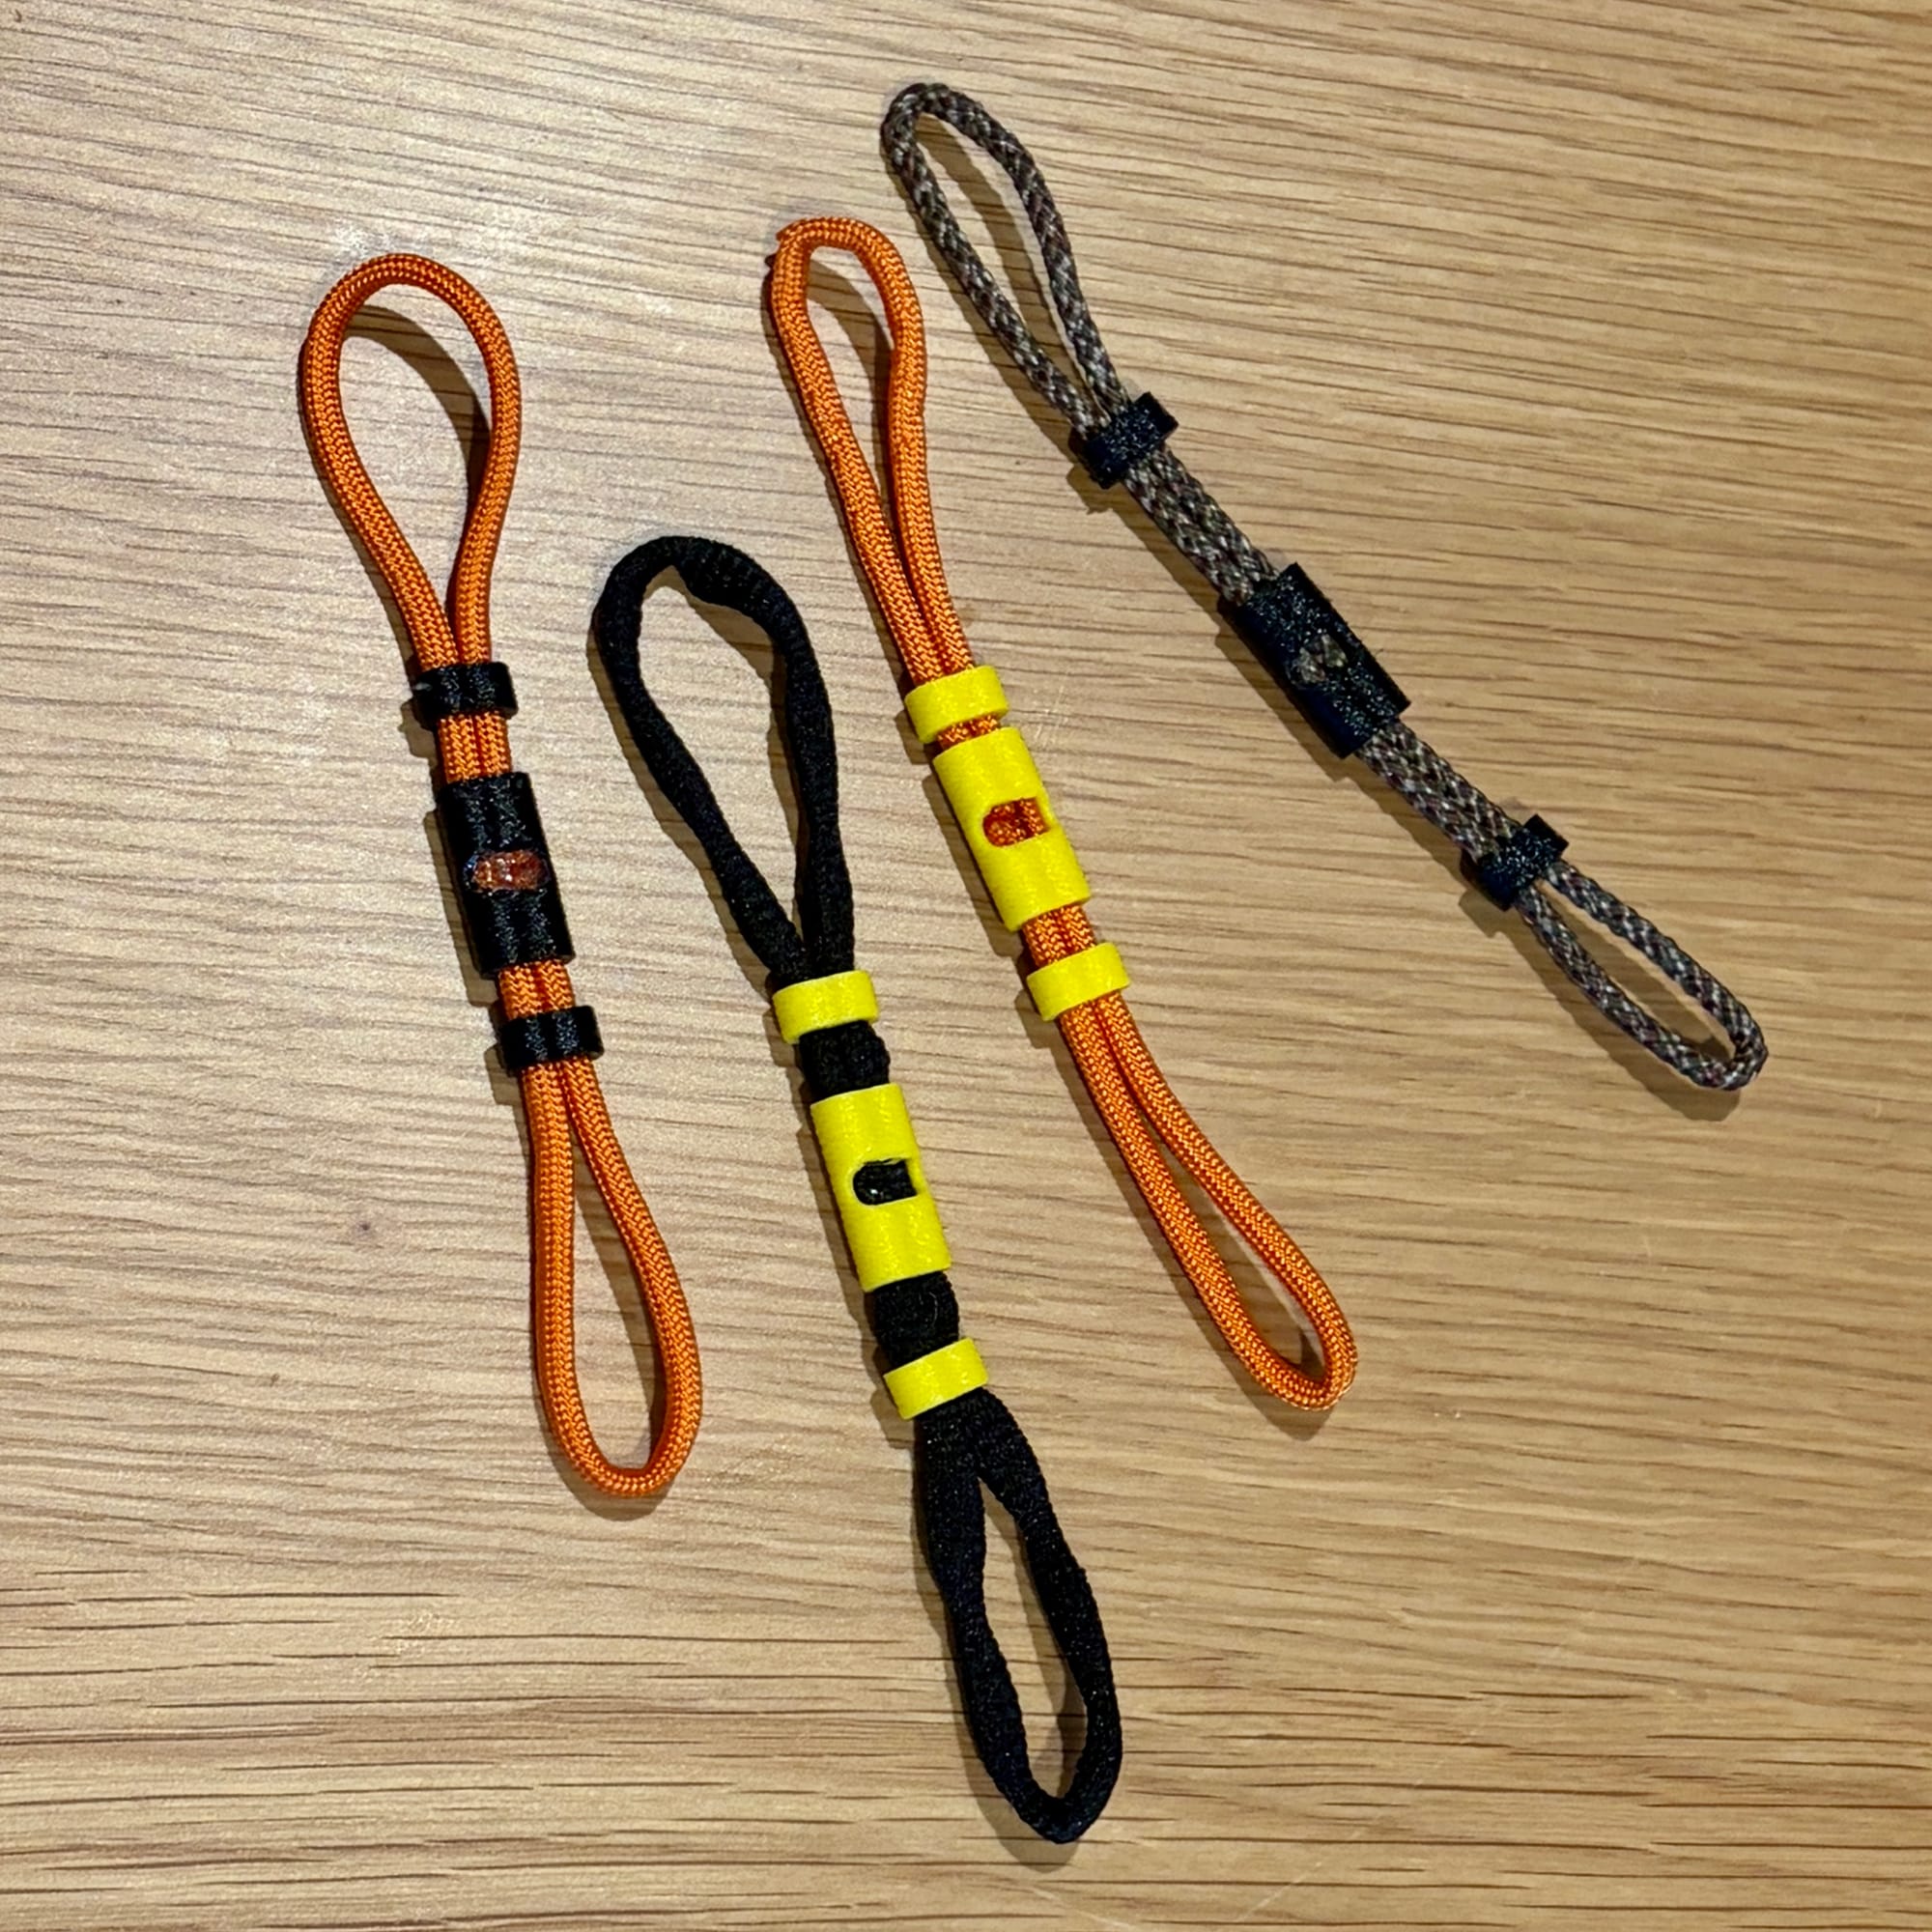
Different filament and paracord colours make it easy to customise the sling to match your bow — or just whatever colour combination you happen to like.
Once the STL files are loaded into the printer, it makes sense to print a few extra adjusters and centre sections.
You can experiment with different filament colours, different paracord colours and slightly different sling lengths.
Match the sling to your riser.
Match your club colours.
Or make something offensively bright so that you never lose it in your bow bag.
Your choice.
The result
This is not a complicated project.
In fact, mechanically, my new finger sling is still doing exactly the same job as the old shoelace version.
There is a loop around my index finger.
There is another loop around my thumb.
The difference is in how easily I can adjust it.
Instead of fighting with tightened knots after shooting an end, I slide the adjusters back, remove the sling and carry on.
It is one of those tiny improvements that doesn't transform your archery, but does remove a small irritation from something you do over and over again.
And those are often some of my favourite DIY projects.
Downloads
Thingiverse-Archery finger sling: https://www.thingiverse.com/thing:7397693