Building a Custom Rifle: Step 2-Making the Mould
To create a composite mould, a plug (also known as a pattern) is required as a master shape or template that can be used to form the mould.


To create a composite mould, a plug (also known as a pattern) is required as a master shape or template that can be used to form the mould. This plug-making process was already covered in Building a Custom Rifle: Step 1-Making a Plug (pattern).
What exactly is a mould, and why is it needed?
The mould is a negative impression of the plug (and the plug represents the exact dimensions and geometry of the final product).
Using this negative impression of the plug, materials such as fibreglass or carbon fibre are layered into it to create a duplicate of the original product (effectively making a copy of the plug), but with this copy being a fully functional version. The mould, if cared for, can be used to create many exact copies of the product.
What is needed?
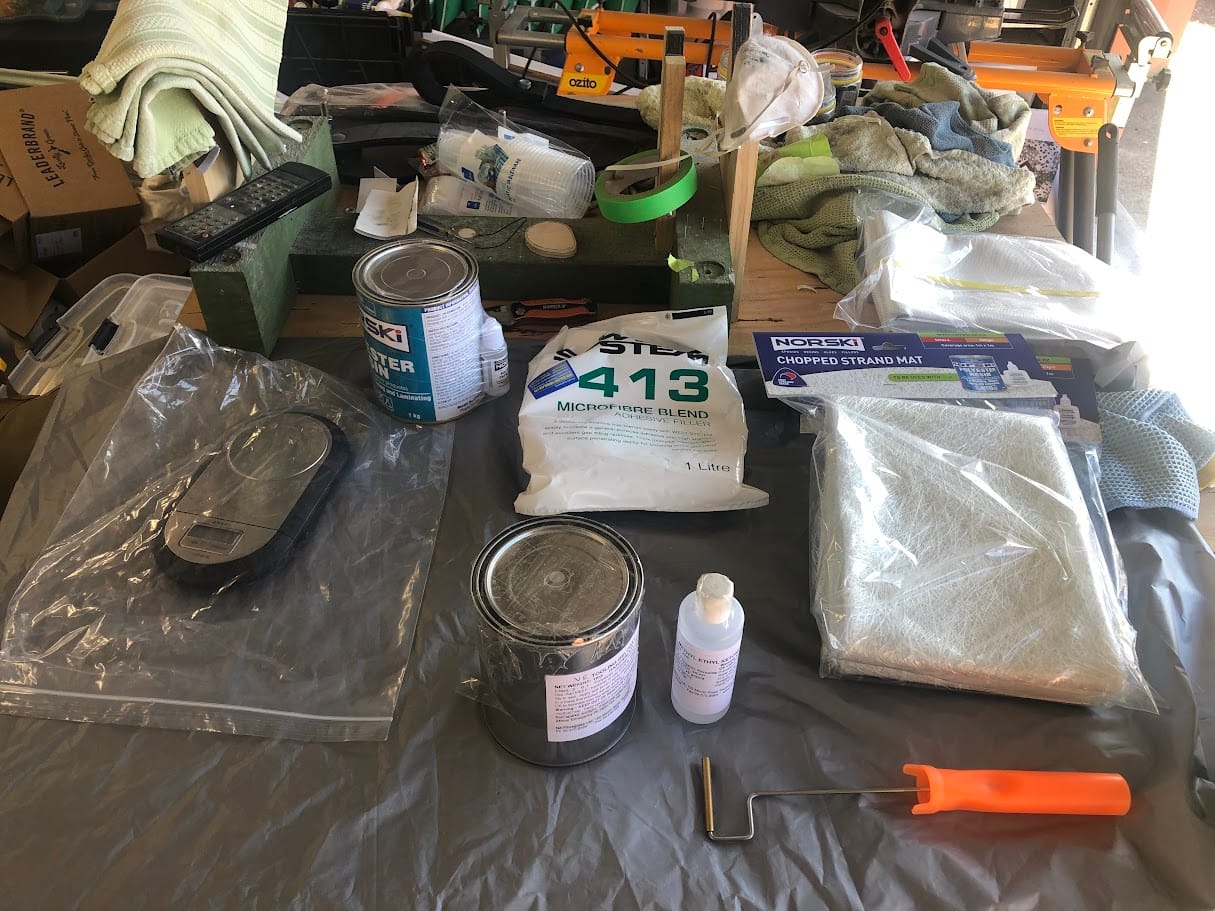
Some materials and tools will be required:
- Tooling gelcoat and Hardener: for the durable and smooth surface area of the mould.
- Chopped Strand: Rough fibreglass mat that is used to reinforce the mould to give it rigidity and strength.
- Fibreglass cloth: to give the back side of the mould a smoother surface for better handling.
- Scale: to accurately measure out the amounts of resin and hardener.
- Mixing cups: disposable containers in which small batches of resin and hardener can be mixed.
- Painting brushes: To apply the resin to the fibreglass chopped strand and fibreglass cloth.
- Ice cream sticks: used to push strand, cloth and resin into hard to reach places.
- Fibreglass roller: optional item, but highly recommended to work out air pockets between layers of chopped strand and cloth.
- Microfibre filler: mixed into resin to fill large voids.
- Thinners: to clean equipment and hands (be prepared, it is a messy process).
- Plastic sheets: disposable sheets to cover work surfaces.
- Disposable gloves: protect hands from the resin and chemicals, and to keep hands clean.
- Modelling clay: clay or kids dough to fill large gaps in the plug.
- Filling wax: to seal and to create clean edges.
- Mould release wax: used to prevent certain areas from permanently fusing with the resin or each other.
- Plywood and scrap wood: to create a divider board from.
Getting down to making the mould
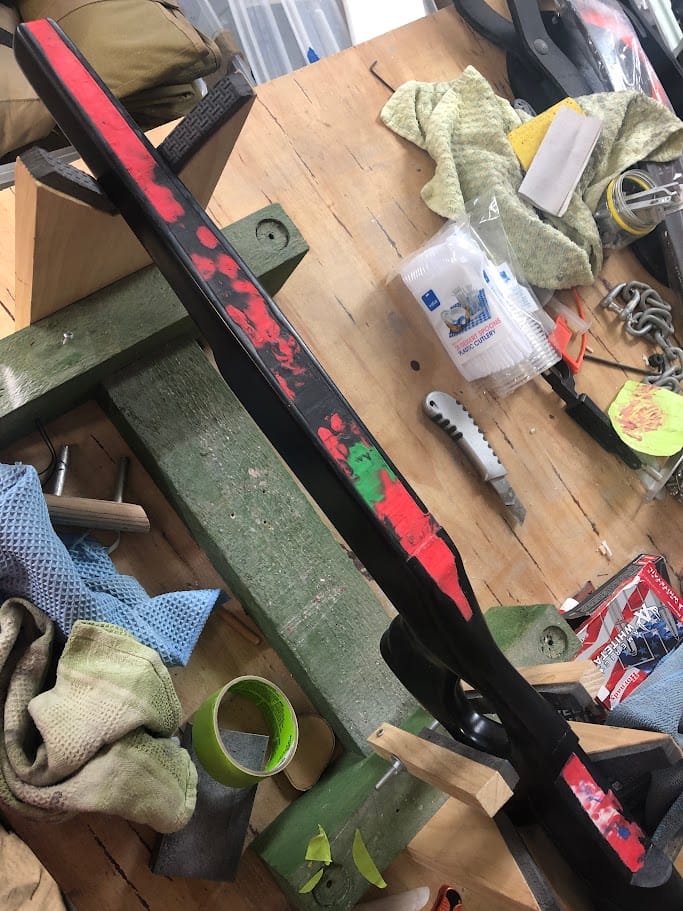
Fill all the cavities in the plug with clay. It does not have to be perfect, but it should be smooth to avoid creating surface areas that could lock the plug inside the mould.
Always keep in mind that the plug needs to come out of the mould, so the sides can never taper inwards (be narrower at the top than the bottom)
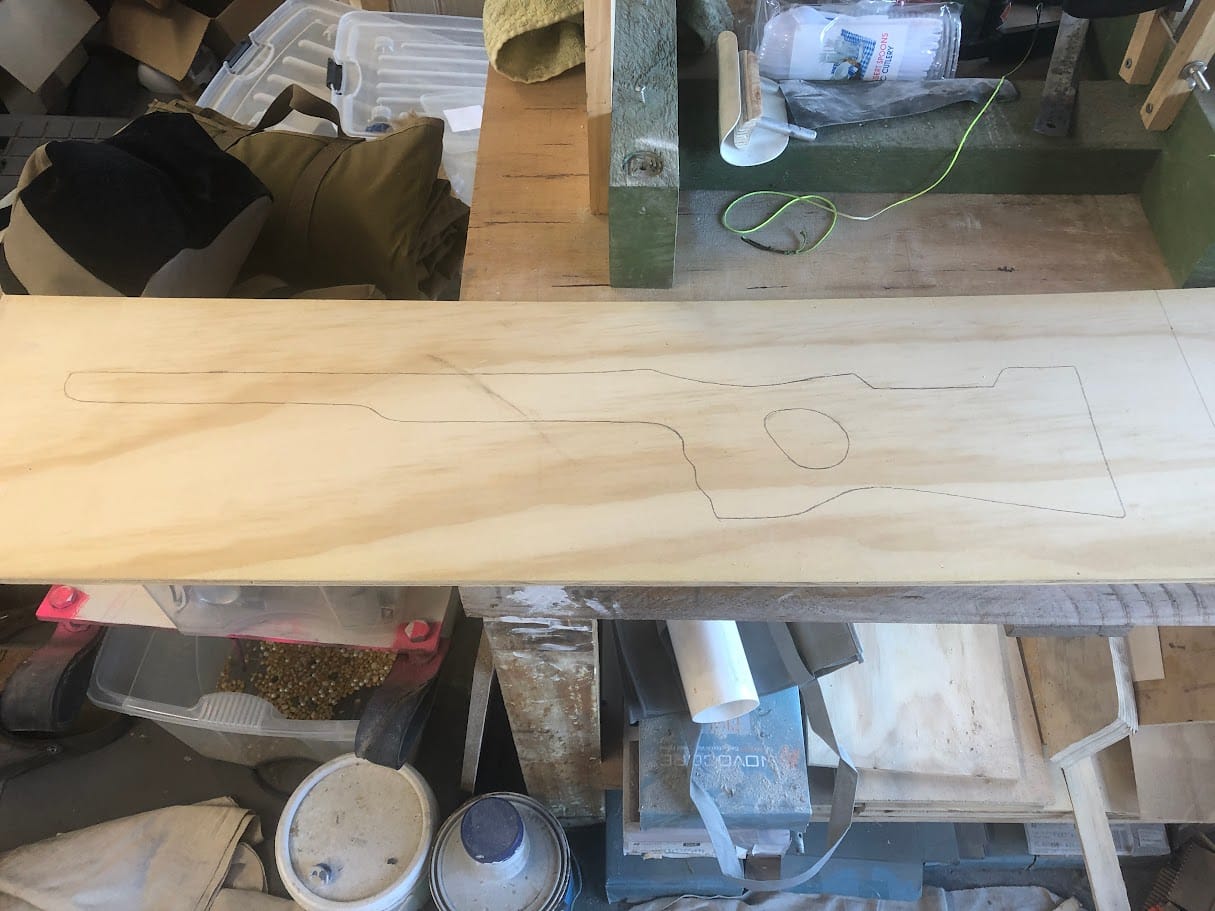
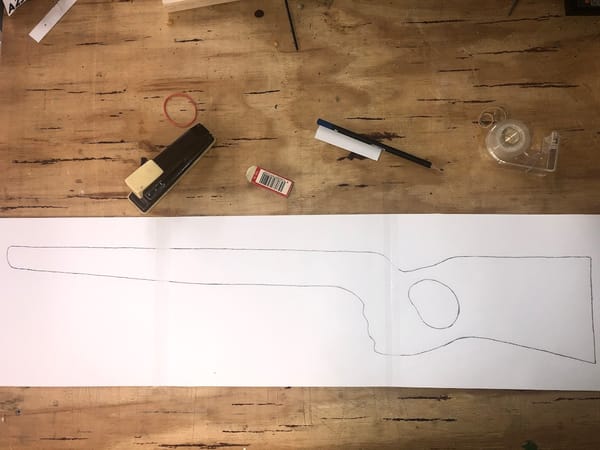
Now trace the outline of the plug onto the plywood, and carefully cut the shape out. Strengthen the plywood edges with wood to make the whole divider board assembly rigid.
The purpose of the divider board is to create the first half of this two-piece mould.
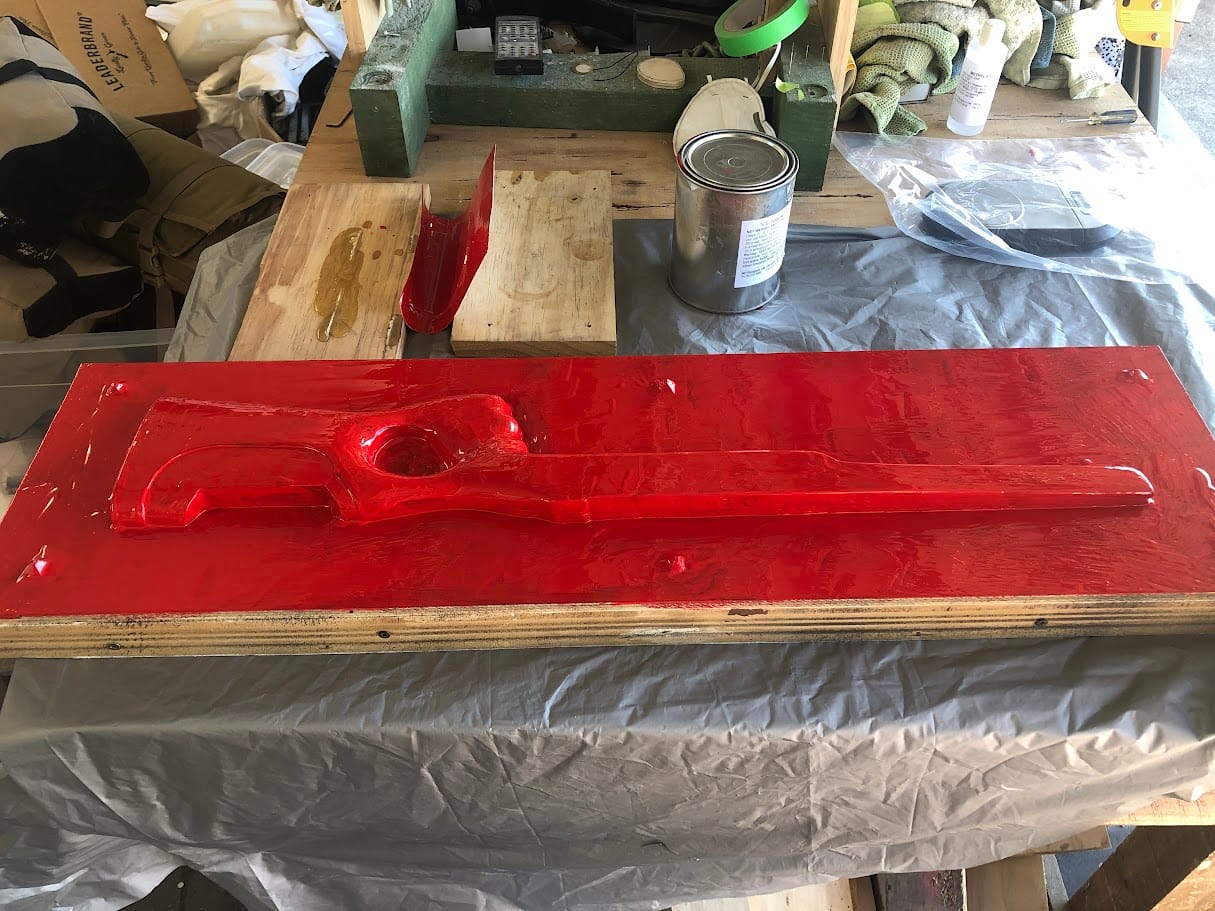
Spray the divider board with gloss paint for a better eventual finish on the mating areas of the two mould halves.
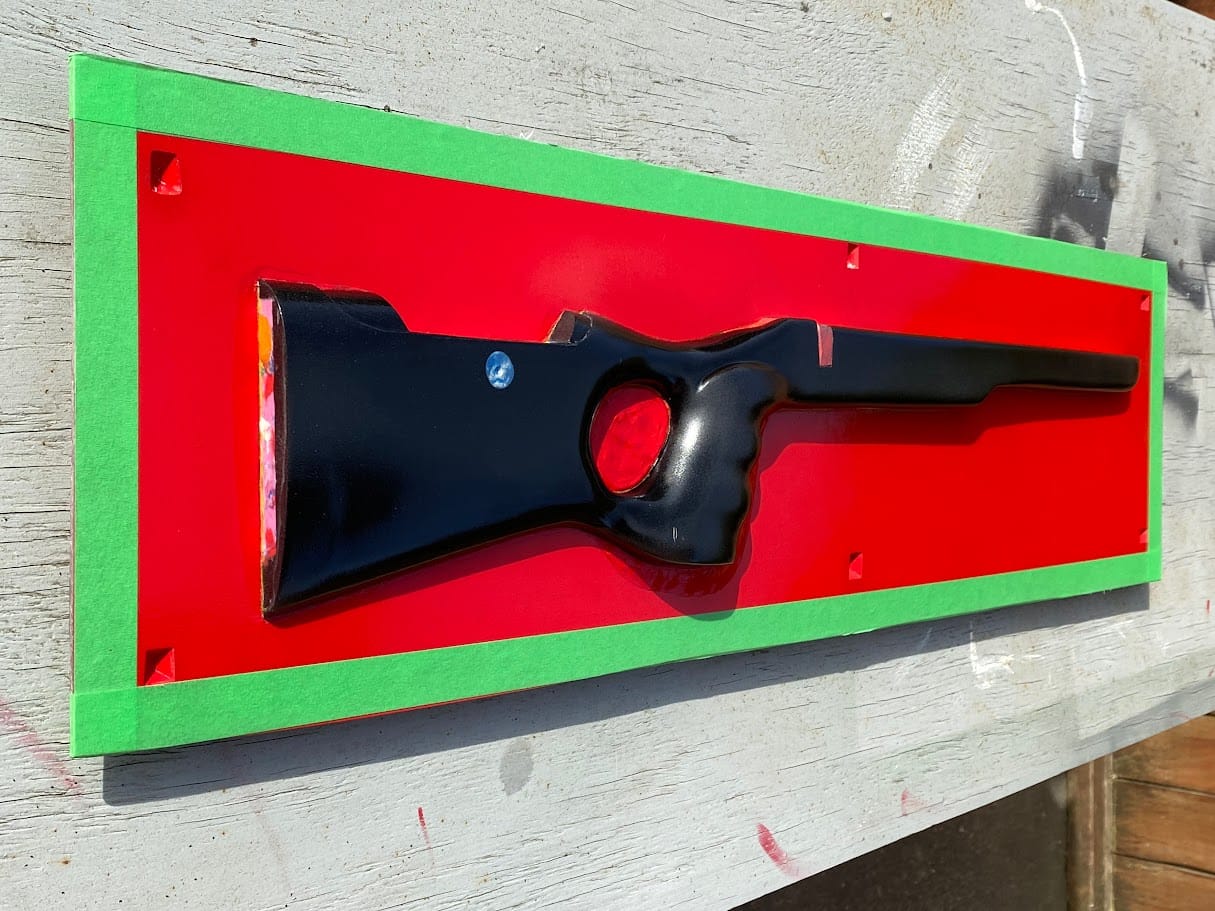
Position the plug inside the cut-out. This can be finicky, and it will depend on the shape of the plug on how and where you fix it to the divider board. I used more clay and wood to brace and support the plug in its position, on the back of the divider board.
The outcome we are after is to have only half of the plug being exposed, without damaging the unexposed half of it in the process. The plug has to be secure inside the divider board to prevent any distortion of the mould.

Once the plug is securely installed in the divider board, fill the edges where the plug and divider board meet with filling wax. Make sure to remove the excess wax and to smooth out any gaps and uneven surfaces.
Not shown in the photos, but use filling wax or clay to create “guide pins” in a couple of strategic places like the corners of the divider board. These guide pins will help align the eventual two mould halves. Just trust me on this one - it will make life much easier when you start using the completed moulds.
Now, carefully clean the plug and divider board surfaces, and apply multiple layers of mould release wax.
Before moving on, make sure you will have sufficient time to complete all the steps to finish the first half of the mould. Timing is crucial.
Build the first half of the two-piece mould
Mix enough Tooling gelcoat in a disposable cup for one thorough application. Read the manufacturer's instructions for your specific product.
With the first coat, pay extra attention to corners and areas where the plug and the divider board meet. Do not apply it too thick that it starts running, but make sure you have covered every nook and cranny without leaving air pockets or bubbles.
Let it set till it reaches “B-Stage”.
B-stage is when the gel or resin is cured to the point where, when touched, it will still leave your finger imprints and feel sticky, but the gel or resin will not come off onto your finger unless you press your finger onto it for a couple of seconds.
If you let it cure beyond B-Stage, then the subsequent layers might not adhere as well to the bottom layers. This will cause the mould to have a much-reduced lifespan. Equally, if you do the next layers before the initial layers reach B-Stage, the subsequent layers could distort the initial layers and cause distortion and weaknesses in the mould.
Mix more Tooling gelcoat in a disposable cup for one thorough application at a time, until you have built up about 3-4 layers and about 3-5mm of Tooling gelcoat.
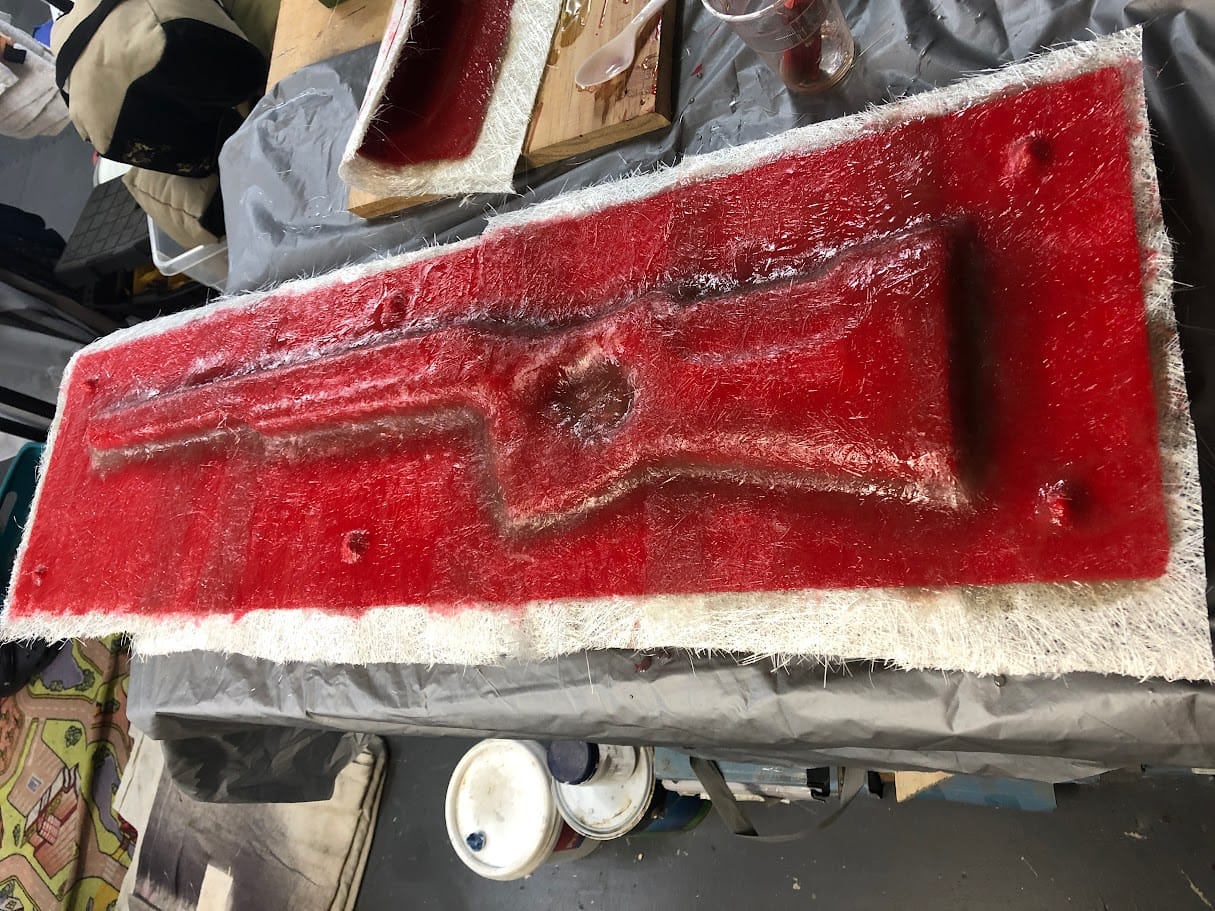
When the final layer of Tooling gelcoat reached B-Stage, mix a batch of resin with its hardener in a disposable cup. Cut pieces of copped stand and layer them onto the Tooling gelcoat. Use a brush wet the copped stand through, and use the roller to work out any air pockets that could have formed. Pay careful attention in corner areas.
Add 3-4 layers, waiting for each layer to reach B-Stage. But add more layers in corners and areas where the mould could be weaker due to thin areas or fine detail.
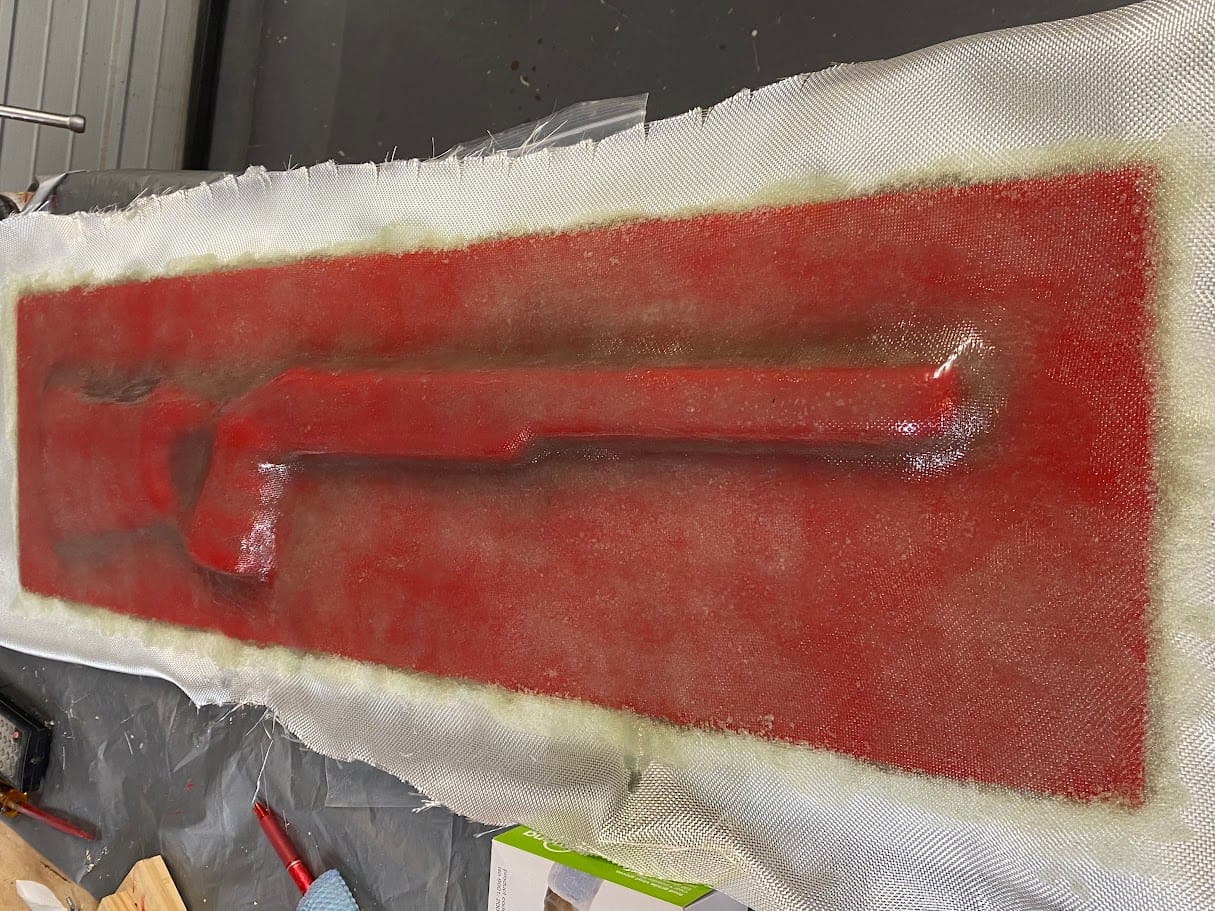
Add fine fibreglass cloth as a last layer on top of the chapped strand to give the mould a smoother finish.
Let it fully cure for at least 24 hours, but it will be best if left for 48+ hours.
Build the second half of the two-piece mould
Moment of Truth time...
Carefully remove the divider board from the first half of the mould. It is VERY IMPORTANT not to remove the plug from the first half of the mould. Be patient and work slowly. Do not use metal tools that will scratch or damage the mould - plastic and wooden prying tools work best. Personally, I have found wooden chopsticks to be one of the best prying tools to use. Sharpen and flatten the edges of the chopsticks where necessary.
Remove all of the filling wax, and clean out the guide pin imprints. Tape the edges of the first mould half with 1-2 layers of masking tape. This gap will become very useful when the two mould halves need to be separated.
Clean thoroughly, and apply multiple layers of mould release wax.
Follow the same process as with the first half of the mould.
First, apply 3-4 layers of Tooling gelcoat till there are approximately 3-5mm of Tooling gelcoat. Follow that with 3-4 layers of chopped strand and a final layer of fine fibreglass cloth. Wait for B-Stage curing between layers.
Let it fully cure for at least 24-48 hours.
And again, Moment of Truth time...
BUT, before you split the halves, drill holes through the mould flanges for bolts that can be used to clamp the moulds together in future.
Now, split them...
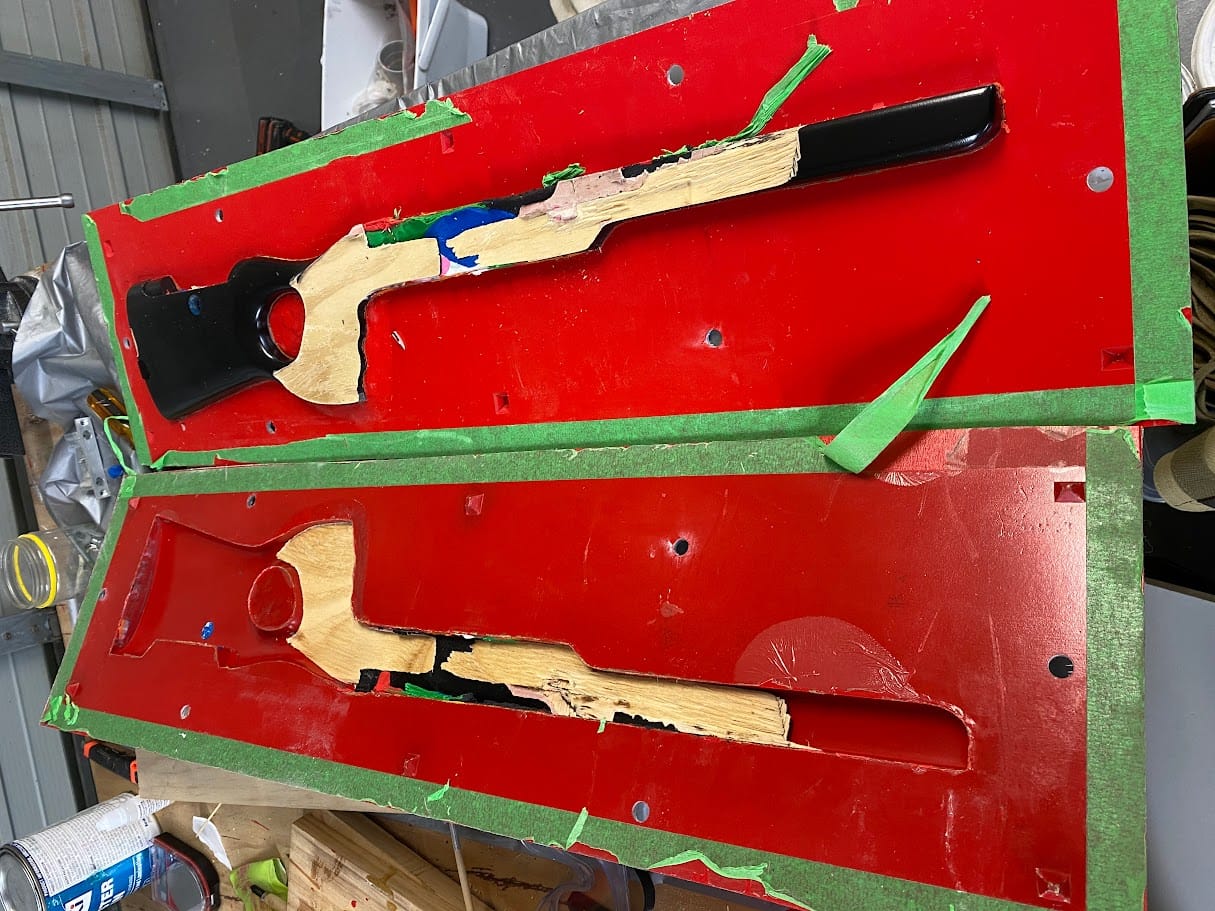
In my case, the moulds separated nicely, but the plug did not survive. It was a pity, but not the end of the world.

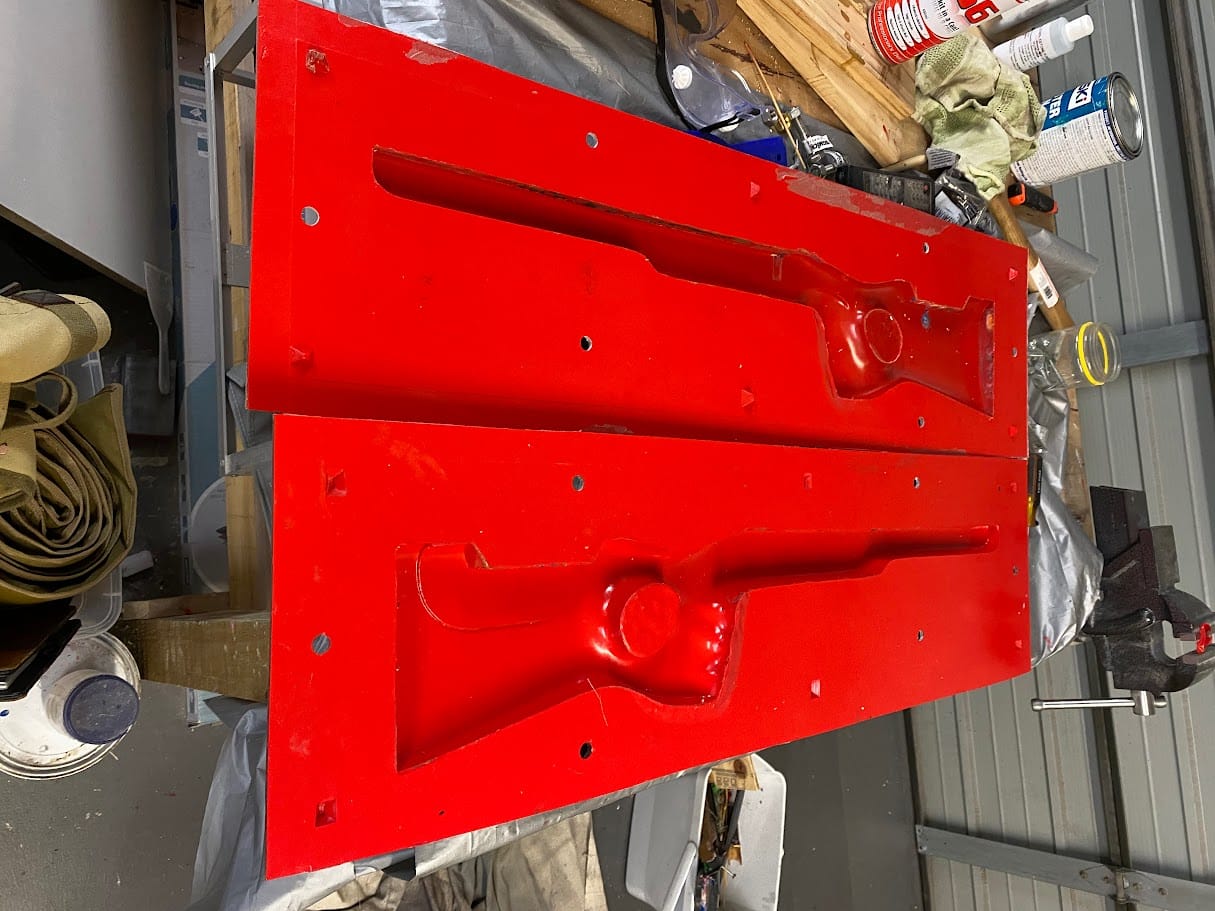
Now all that is left is to clean the edges of the mould with a fine file and some fine sanding paper.
Mould done!